Locate the Device Map
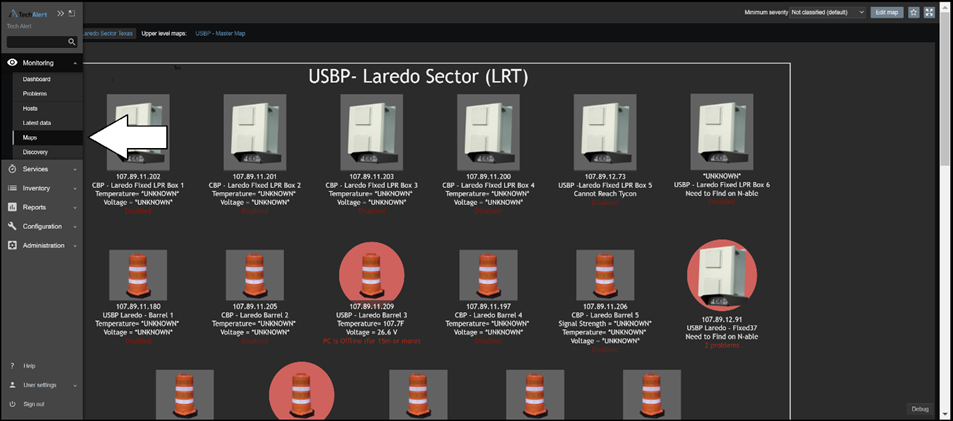
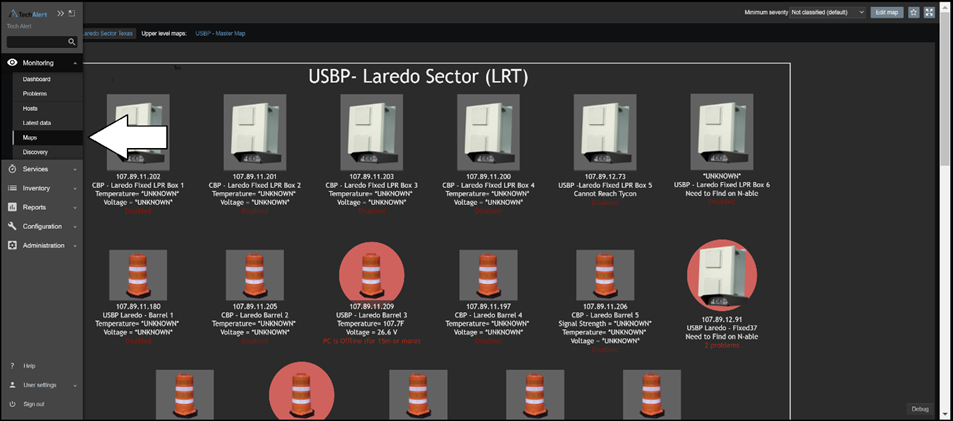
From the left-hand menu, navigate to Monitoring
Locate Maps and select the map you wish to edit.
Edit the Map
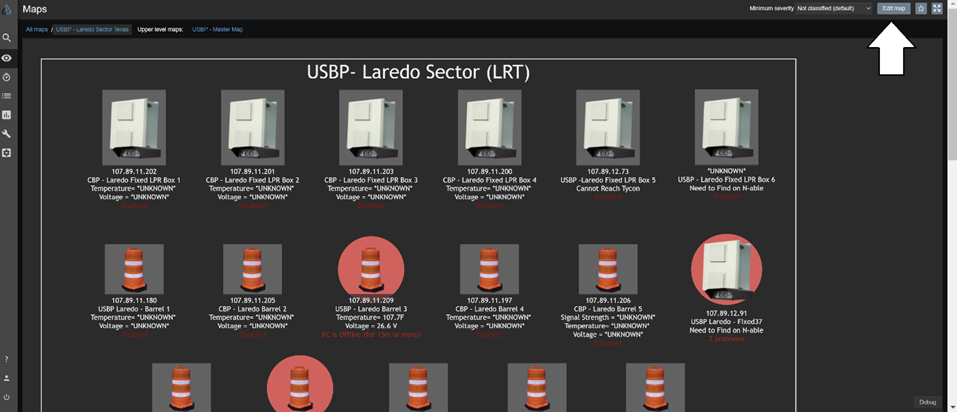
Select Edit Map at the top right of the page.
Add a New Element
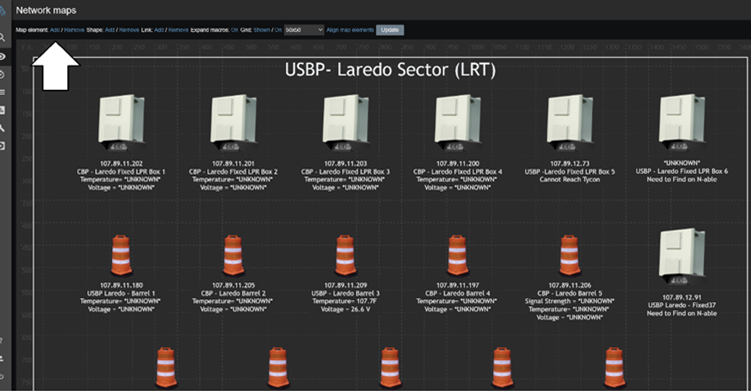
At the top left of the page, next to Map Element, select Add.
Select the New Icon
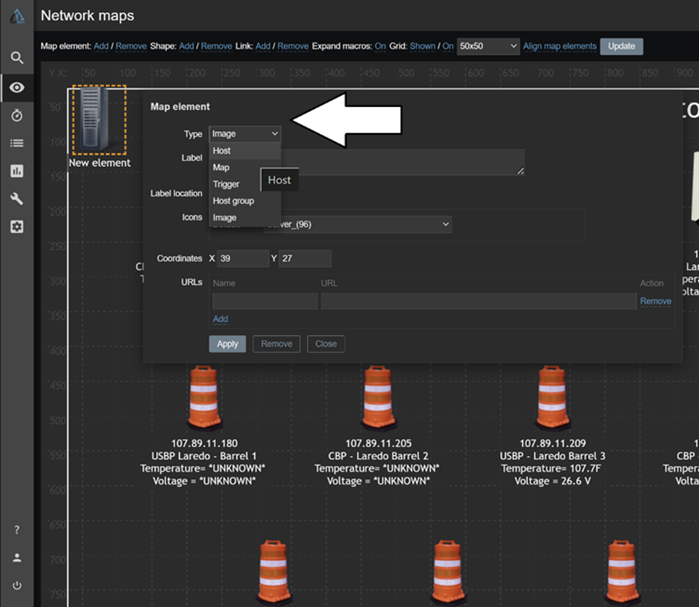
Click on the new element (icon) that appeared on the map.
Change Element Type
In the new window, change the Type to Host.
Search for Host
In the Host field, search for the host you want to add.
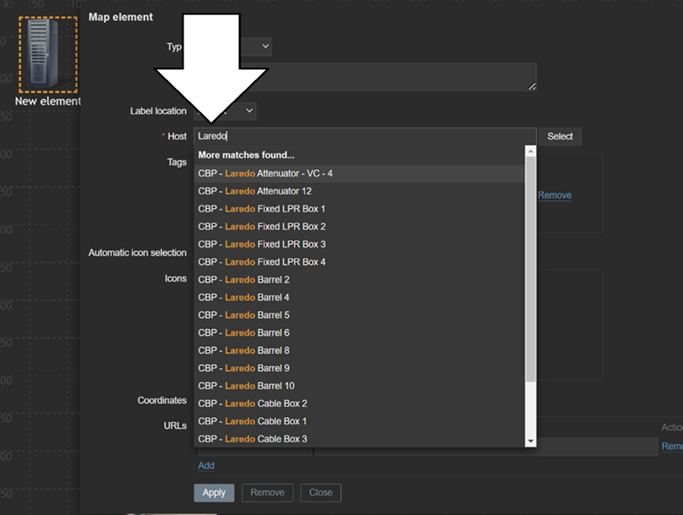
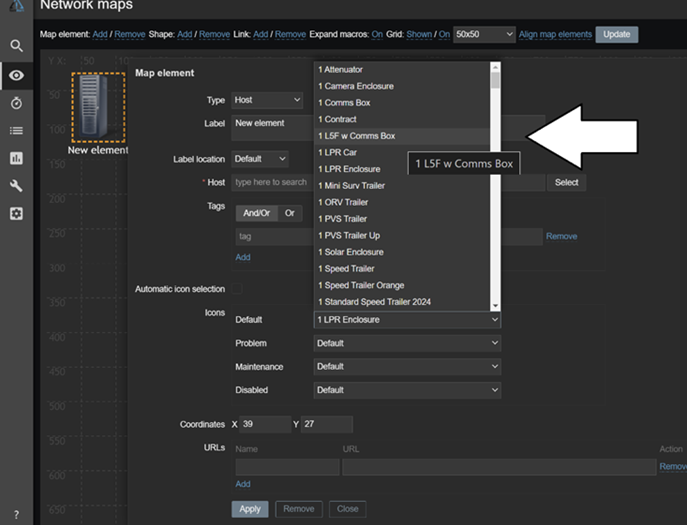
Select an Icon
In the Icon field, choose the icon that best represents the system you’re working on. Leave other fields labeled as default.
Add a Label
In the Label field, input the necessary code for each device in the system. Refer to your TechAlert Map Label Reference Guide for the appropriate lines to enter.
Add URLs
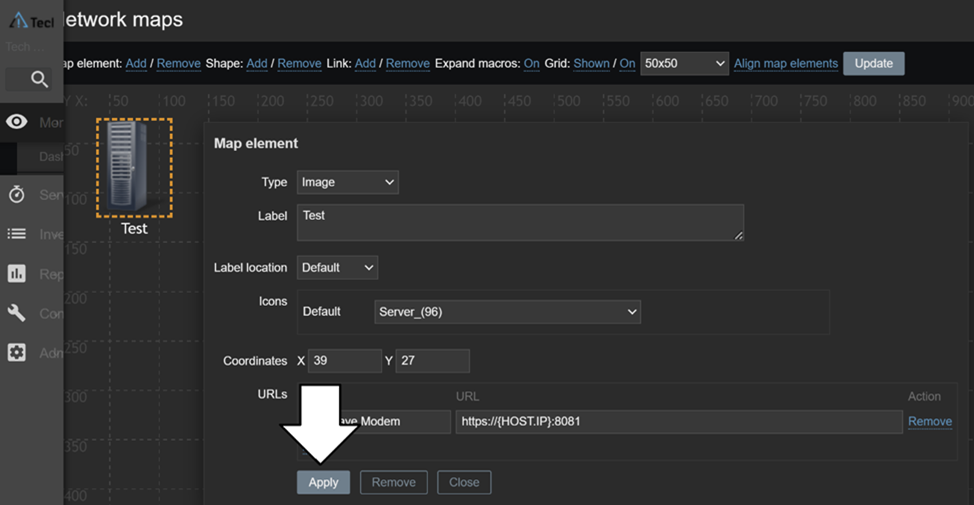
Add URLs at the bottom for each link you wish to display on the map. URLs typically provide access to the web interface of devices in the system. Ensure the port numbers match the port forwarding configurations on the router.
Examples:
Name: Pepwave Modem / URL: https://{HOST.IP}:8081
Name: Tycon Power Management / URL: https://{HOST.IP}:88
Apply Changes
Once finished, click Apply in the small window. Move the icon to the desired location on the map.
Adjust Map Size (if needed)
If there’s not enough space on the page, select Update at the top of the page.
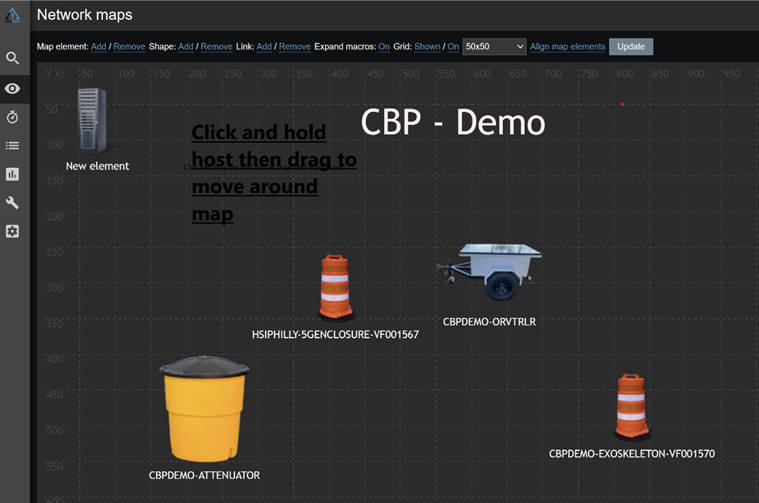
Expand Map Dimensions
Under Monitoring, click Maps and ensure all filters in the filter bar are clear. Select the appropriate map for the customer site.
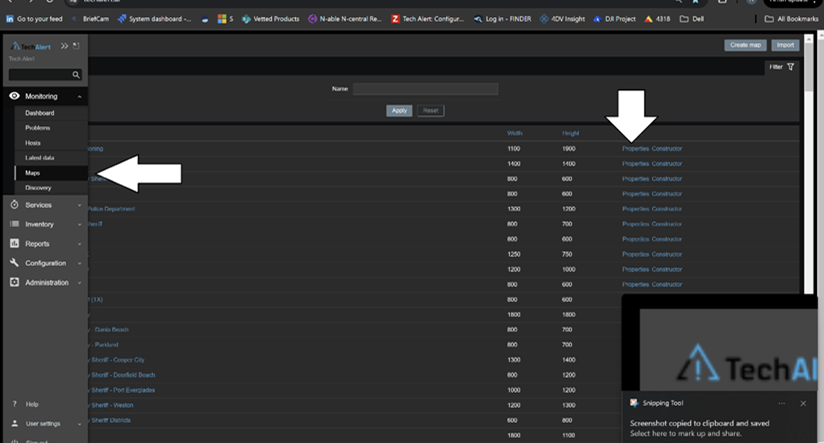
Add Height to Map
Find your map in the list, then select Properties on the right.
Add 200 pixels to the height value and select Update to create more room on the map.
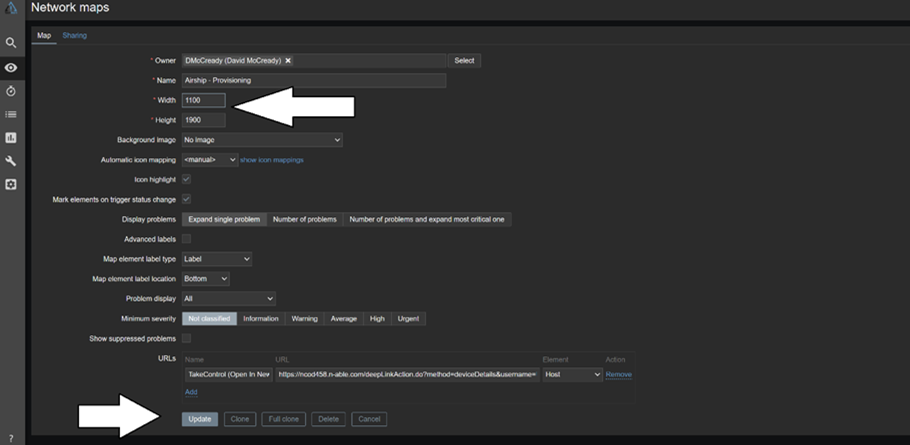
If assistance is required for network or firewall setup, please contact the TechAlert support team.
