
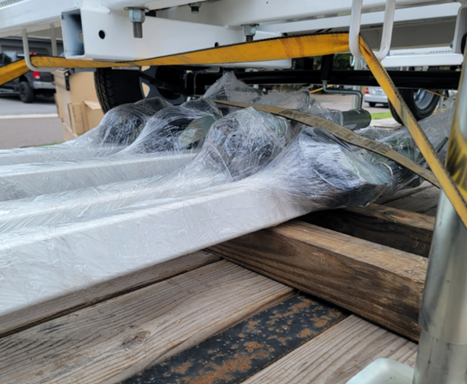
Once the trailer has been unloaded, and administrative paperwork handled for registration and insurance, it is time to begin getting your trailer ready for initial deployment.
The trailer is shipped without the hitch attached. A trailer hitch will need to be installed on the trailer body after unloading.
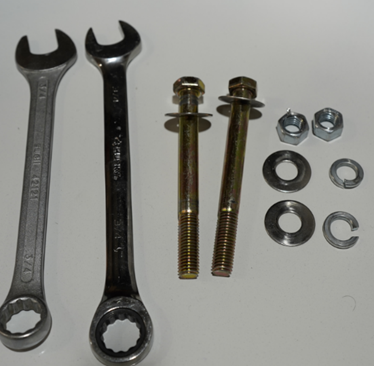
Tools needed to install the hitch properly
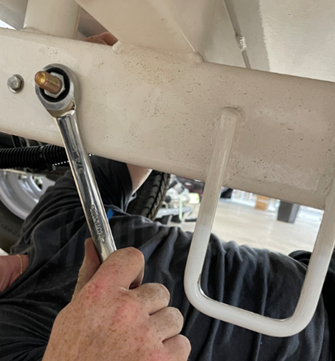
o 2 – ¾ inch wrenches for each side
o Bolts/Washers/Nuts that come with the Trailer Tongue
Installation Steps
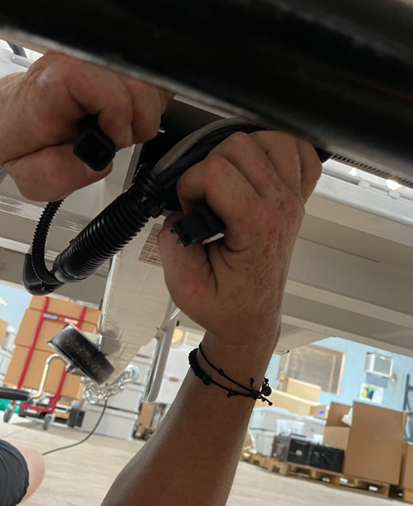
While balancing the trailer hitch at female entry point, ensure you have male / female connector firmly attached.

Slide the male end of the trailer hitch into female receiver and insert locking bolts.
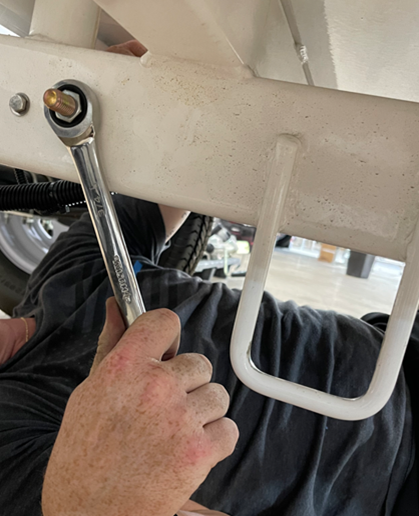
After securing locking bolts with the ¾ wrenches through the hitch, connect the brake light connector found in the tongue to the connector located at the back of the trailer.

Verify lights work on trailer.
Tow a short distance in controlled setting to ensure hitch is properly attached.
After short tow and verification of all lights functioning properly, tighten the hitch bolts underneath trailer a final time.