
Table of Contents
Charging your Exoskeleton #
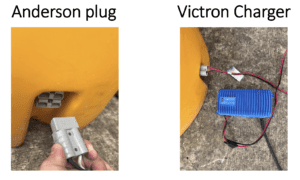
- Once you have unpacked your Exoskeleton, you need to ensure it is fully charged before your deployment.
- Do this by attaching the Victron Smart Charger to the Anderson plug located at the bottom of the enclosure and then plug into a 110 electrical outlet and allow a full 24-hour charge.
Please note – if you have a battery bank extender you will want to charge it for a full 24 hours as well.
Charging Your Exoskeleton (Continued) #
- Once the Exoskeleton has been plugged into the wall, you should see the charger’s indicators light up.
- For more detailed information on the charging process, download the Victron Connect app from the app store on your phone.
- Once downloaded, open the app and select the Blue Smart Charger from the list, and enter the pin code 654321.
- If fully charged, your Exoskeleton should be in Float mode.Turn the Power switch to the ON position and the voltage indicator will light up and show current voltage.
Please note – it may take 10-15 seconds to turn on.
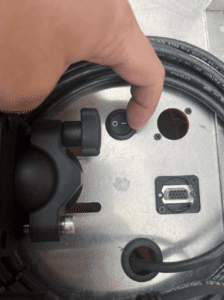
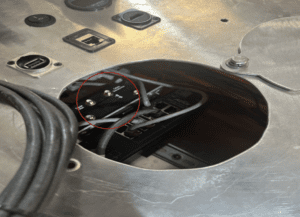
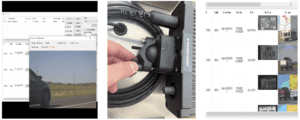
- If SIM Card needs to be installed, it can be found in the access panel shown below.
- Use a Phillips head precision screwdriver to remove the dust cover and insert the SIM card as shown on the device.
- Press down until you feel it click.
Please note – The Exoskeleton should be powered off during SIM card installation.
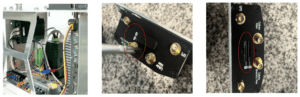
- Once the system is powered on and SIM card has been installed, connect an HDMI cable to the plug shown below and the other end to a monitor.
- Also, connect a keyboard and mouse to the USB plug.
- Once the monitor and keyboard/mouse have been hooked up, you need to verify Internet and configure the APN.
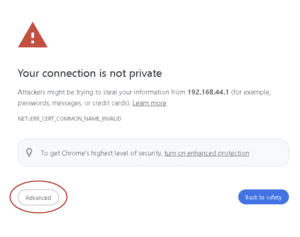
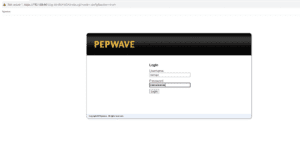
- Open the web browser and type 192.168.44.1 in the address bar and hit enter.
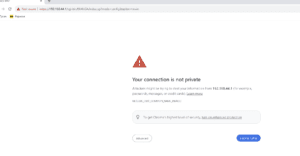
Select Advanced.
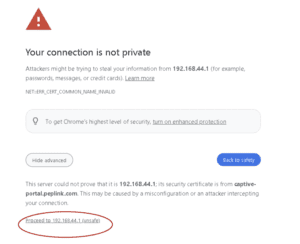
Select Proceed to 192.168.44.1
- Enter the Username and Password you have been provided.
- For additional assistance, please contact Customer Support.
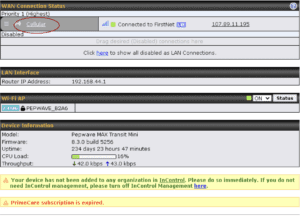
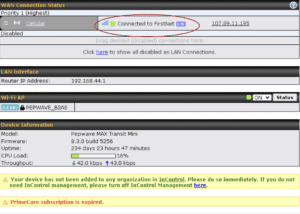
The home screen will show the status.
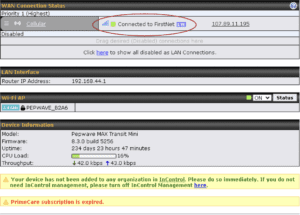
Select Cellular.
- Scroll down to operator settings and select Custom.
- Then type your APN in the field below.
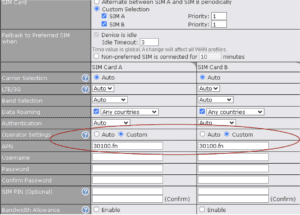
Scroll to the bottom and hit Save and Apply.

- This will take you back to the home screen.
- Allow a few minutes for the changes to take effect.
- You should see Connected on the home screen.
- While here, it is a good idea to check the firmware version.
- Select the System tab.
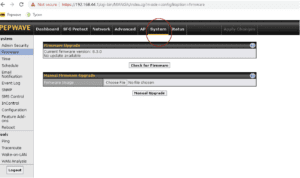
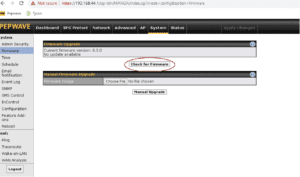
Select Firmware on the Left.
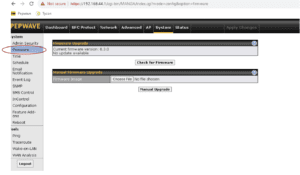
Then select Check for Firmware. If applicable, update firmware.
- (CBP ONLY) Now that we have Internet, exit the web browser.
- From the Home screen, run all necessary files and install CDX if it has not been installed already.
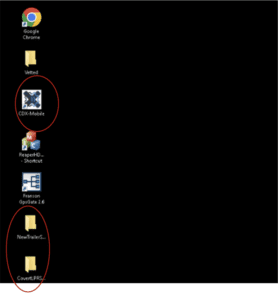
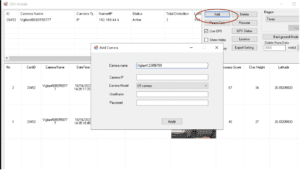
- Next, Open CDX and select the Add button.
- Camera name will be Vigilant followed by the camera serial number with no dashes or spaces.
- Camera IP will be 192.168.44.4 and camera model will be L5F.
- Leave username and password blank and select Apply.
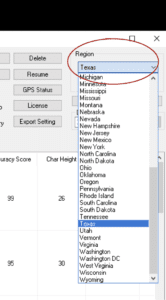
Select Region and choose your region from the drop-down menu.
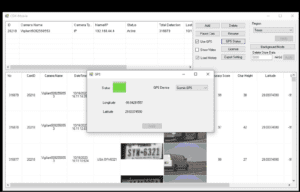
Verify GPS is working by ensuring the use GPS tab is selected and click GPS Status.
It should show green with accurate coordinates.
- To adjust the camera aim, click Show Video to pull up a live feed.
- The IR and color view circles will alternate the image.
- For daylight deployment you will want to use the color view, and IR for the night.
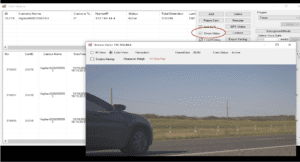
- With the Live feed pulled up, loosen the C clamp on the back of the camera and adjust as needed.
- The reads will begin to show up, allowing you to ensure you have a good view of the vehicle and a good image of the tag.
- Once satisfied with the aim, tighten the C clamp to lock the camera in place and cover with your shell.
Vetted Security Solutions Support #
The Vetted Security Solutions Support team is committed to answering all your day-to-day questions as quickly as possible. Please see the steps below for the support process:
- Go to https://vettedsecuritysolutions.com/support/
- Click on the “Support Ticket” Icon.
- Choose from the following options: LPR Technical Support, License Key Request, Account Management, CCTV and Surveillance, Thermal Camera Support, or Other Questions.
- When opening a support ticket, if you have multiple physical sites and or equipment impacted, please create an individual ticket for each. Do not bundle multiple different physical sites/equipment in the same support ticket.
- Please provide the following information: Your Name (Contact Name), Phone Number, Email, Company/Department, a summary, and a detailed description of the issue you are having. Attachments are optional.
- Press send to notify our help desk, and a confirmation email will be sent to the email address that you have provided.
- Once the ticket is updated/ or closed, it will send you an email notifying you that the support request has been modified/ or completed.
For issues requiring immediate technical support, please call the Vetted Security Solutions office number at (727) 440-3245 Ext 1.